ALL-ON-FOUR
RESTORATIVE PROTOCOL
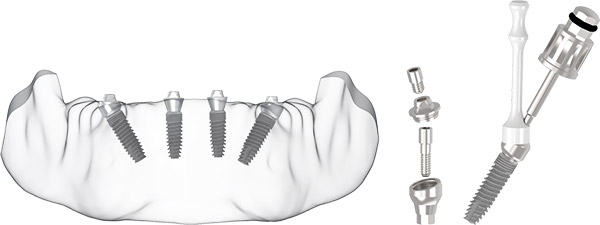
- Choose the abutment with the appropriate angle and gingival height.
- Mount the abutment by rotating the abutment until it reaches the correct position, making contact between the abutment body and the implant at the connection.
- The flexible transfer piece can be bent to facilitate abutment placement.
- For initial attachment, gently tighten the abutment screw using the driver to ensure the thread attachment.
- Remove the transfer piece from the abutment body.
Note: The recommended insertion torque for optimum abutment retention is 25 Ncm for the long screw, 15 Ncm for the short screw.
TRADITIONAL IMPRESSION
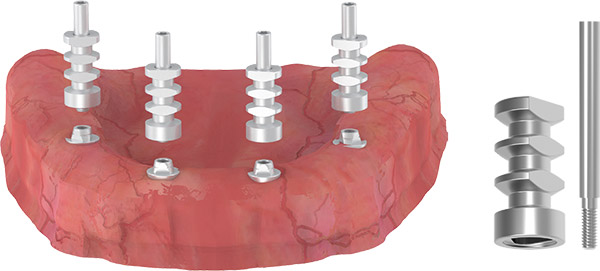
- After healing, mount the open-tray impression post on Multi-Unit Abutment and Multi Base Abutment.
- Measure with soft silicone impression materials and an open-tray specifically prepared for the patient.
DIGITAL IMPRESSION
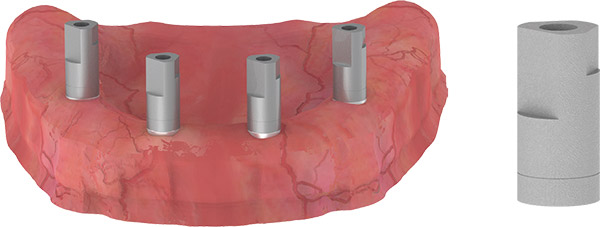
- Mount the multi-use scan body (digital scanning) parts with the abutment.
- Using an intraoral scanner to take a digital impression.
IMMEDIATE RESTORATION
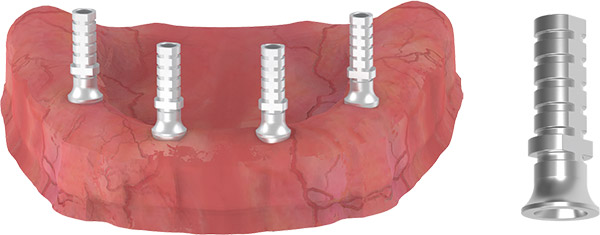
- Manually mount and screw the temporary abutments onto the Multi-Unit and Multi-Base Abutments.
- Perforate the denture and prepare it to fit the temporary abutments so that the prosthesis does not put pressure on the mucosa.
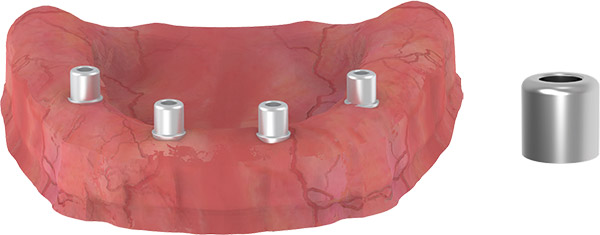
- Manually assemble the healing caps by applying a slight torque (5-10 Ncm) by finger power.
DENT LAB PROCESS
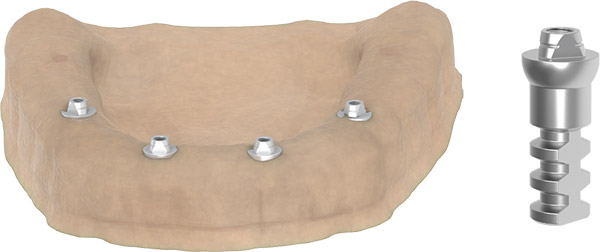
- Carefully mount the open-tray impression post to analogs.
- Apply slight manual torque (5-10 Ncm).
- Apply silicone around the analogs to prepare the removable gingival mask.
- Cast high quality plaster for the master model.
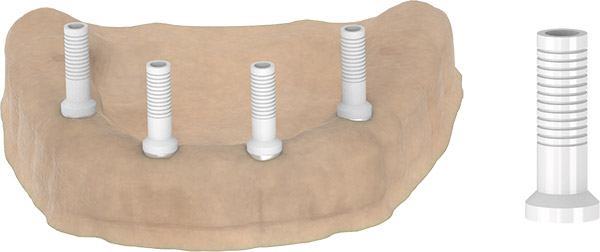
- The sleeves are used in the laboratory for modeling.
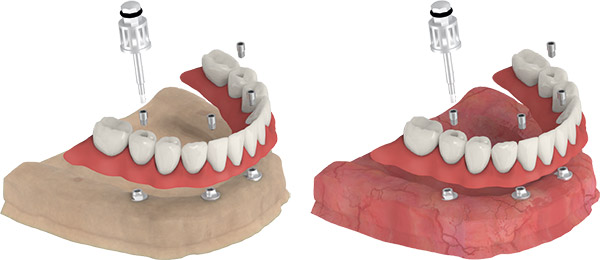
- The model is restored in the dental laboratory.
- Place all prosthetic bridge connections on the abutment.
- Tighten the prosthetic screws with 15 Ncm using the torque ratchet and driver.
- Cover the screw holes in the prosthesis with protective material and apply composite.
- Check the occlusion.
MULTI UNIT
BALL ABUTMENT
CLOSED TRAY IMPRESSION TECHNIQUE
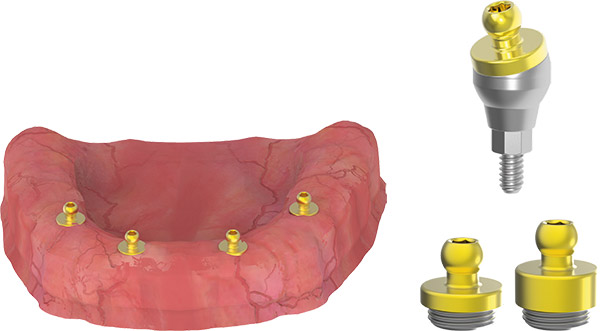
- Use the straight and/or 17-degree Multi Base Ball Abutment in the anterior region.
- Use the 30-degree Multi Base Ball Abutment in the posterior region.
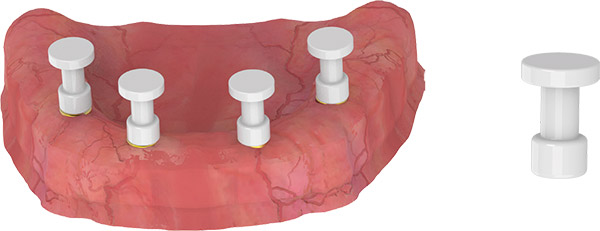
- Mount the plastic pick up transfers used for impression on 17-30 degree Multi Base Ball Abutments.
- Take the impression.
Note: The recommended insertion torque when screwing the abutment is 25 Ncm.
LABORATORY PROCESSES
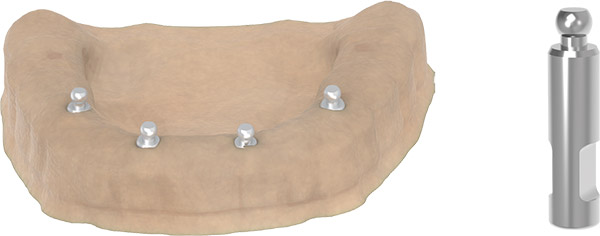
- Mount the analogs carefully on impression pick up pieces.
- Prepare the impression for transfer.
- Cast high-quality material for the master model.

- The model is restored in the dental laboratory.
- Place the abutment on top.
MULTI UNIT
LOCATOR ABUTMENT
CLOSED TRAY IMPRESSION TECHNIQUE
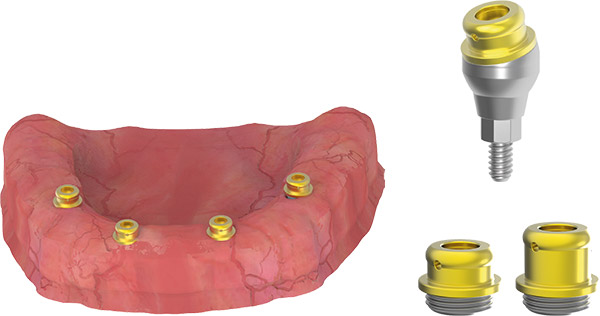
- Use the straight and/or 17-degree Multi Base Locator Abutment in the anterior region.
- Use the 30-degree Multi Base Locator Abutment in the posterior region.
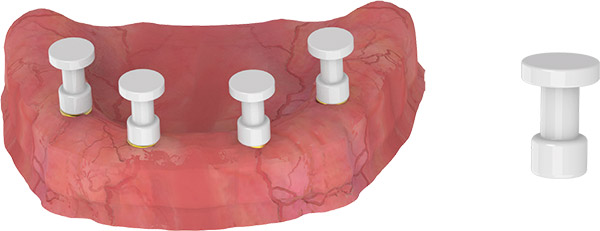
- Mount the plastic pick up transfers used for impression on 17-30 degree Multi Base Locator Abutments.
- Take the impression.
Note: The recommended insertion torque when screwing the abutment is 25 Ncm.
LABORATORY PROCESSES
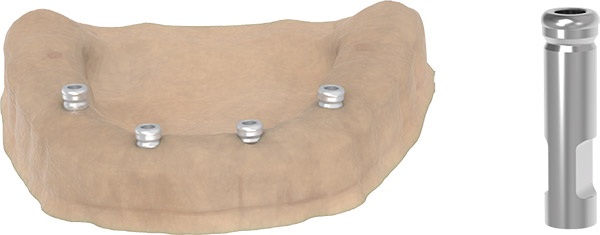
- Mount the analogs carefully on impression pick up pieces.
- Prepare the impression for transfer.
- Cast high quality plaster for the master model.

- The model is restored in the dental laboratory.
- Place the abutment on top.
