ALL-ON-FOUR
SURGICAL PROTOCOL
IMPLA-GUIDE
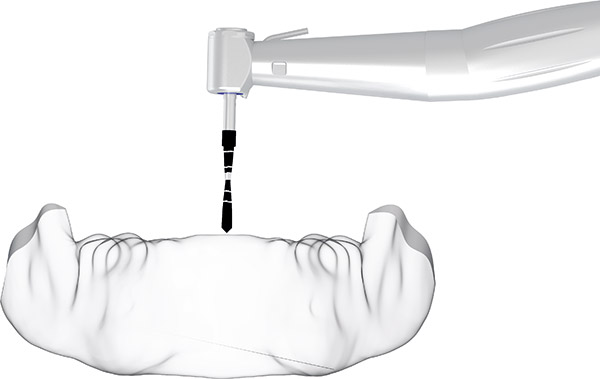
- You should do an osteotomy for IMPLA-GUIDE after you raise the gingiva.
- Prepare a 10 mm cavity in the midline using the 2 mm diameter pilot bur.
- Bend IMPLA-GUIDE outside the mouth to fit the shape of the jawbone.
POSTERIOR PREPARATION
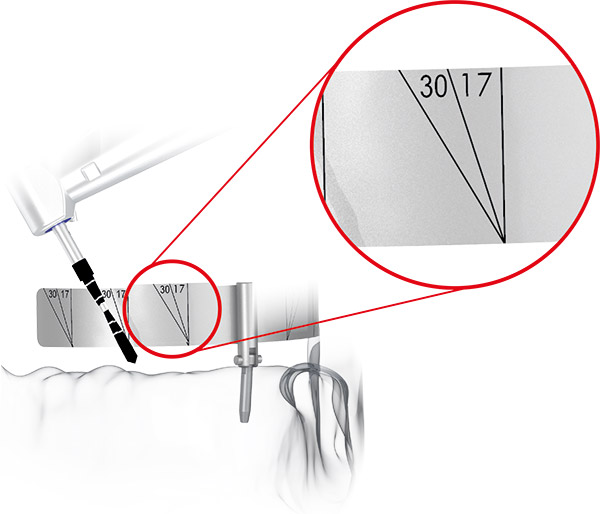
- Place IMPLA-GUIDE in the area you prepared in the mid-line. Lines on the guide will provide information about the angle and axis of the implant site you will prepare.
- Drill the cavity using the 2mm pilot drill until the length of the implant you will place.
- Check whether the angle is aligned with the guide.
- Follow the preparation protocols for the implant you will use.
POSTERIOR IMPLANTATION
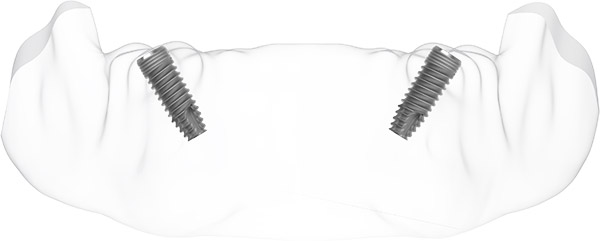
- You should achieve 35-45 Ncm for immediate loading protocol.
- For the posterior aspect, 30-degree MULTIUNIT Abutment should be used.
Note: To avoid damaging the nerve, make sure the implants are placed before the emergence of the mental foramen.
ANTERIOR IMPLANTATION
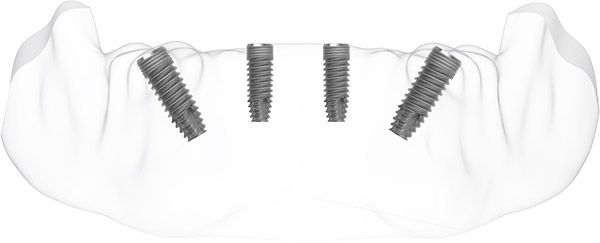
- Prepare two cavities compatible with your implant on the anterior side, keeping as far away as possible from the apices of the implants positioned posteriorly.
- A straight or 17-degree MULTI-UNIT Abutment should be used if an angle is required.
LOADING AFTER HEALING
If the 35 Ncm threshold, which is the torque required for immediate loading, has not been reached, a posthealing loading protocol should be followed. Final restorations or temporaries should be placed following the standard healing protocols recommended.
- You should suture the soft tissue incision line by placing the cover screws on the four implants.
- Wait until the osseointegration process is complete before you can proceed to the next steps for the prosthesis.