GUIDED
PROTOCOL

ORAL DIAGNOSIS AND TREATMENT PLAN
▼
Taking the impression and making a plaster model
▼
Radiographic guide production
▼
CT Scan (Dual Scan)
▼
Treatment planning
▼
Surgical guide production
▼
Surgical content and production of provisionals
▼
Implant surgery using the surgical guide
▼
End of guided surgery
ADVANTAGES
VERIFIED PROTOCOLS
TECHNICAL SUPPORT AND ASSISTANCE
CONTROLLED CASE APPLICATION
SIMPLE AND SAFE SURGERY
SURGICAL SET AND PROTOCOL COMPATIBLE WITH THE SYSTEM
TYPES OF GUIDES
ImplatechOne Implant System has 3 different guide solutions for safe use in guided surgery.
Bone Supported Guide
Offers the ideal solution by fixing the guide to the bone in total edentulous cases that require bone augmentation.
Mucosa Supported Guide
Provides a minimally invasive flapless solution for total edentulous cases.
Tooth Supported Guide
Allows the preparation of the optimum guide for cases with partial edentulism, by using a cast model and/or scan of the cast model.
FIXATION PRINCIPLES
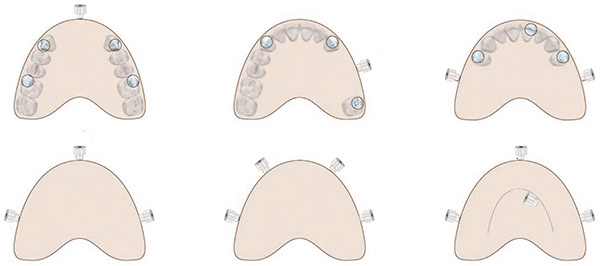
The surgical guide should be fixed in accordance with the surgical orientation and strategic position, using fixation pins when necessary.
4 or more fixation pins should be used in total edentulous cases. Care should be taken to ensure normal mouth opening and to avoid lip retention.
To protect surrounding tissues, the use of fixation pins in single-tooth applications is not recommended.
GUIDE FIXATION PINS

Used for the fixation and safe application of the surgical guide at the beginning of and during the surgery.
Angle and depth are of great importance when determining the positions of the fixation pins.
DRILLS
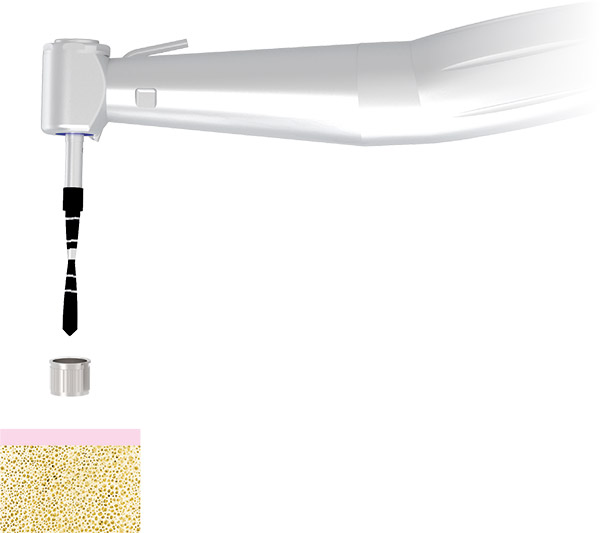
- Before surgery, make sure that the drills move easily and comfortably within titanium sleeves on the surgical guide.
- After checking, use the drills as recommended.
Note: Guide drills are 10 mm longer than normal drills and are defined as +10.
FULLY GUIDED
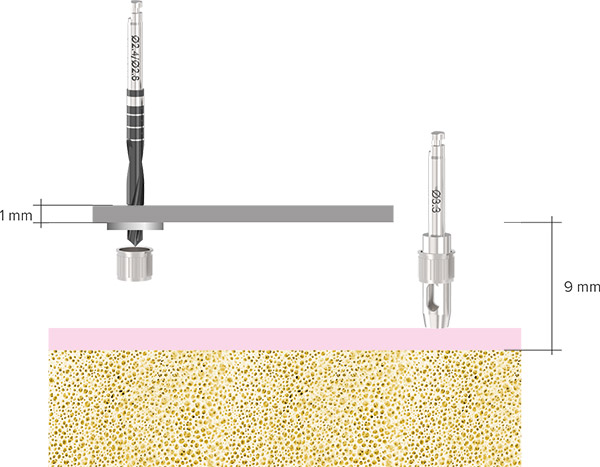
Measurements between the surgical guide and the implant (neck of the implant) are 9 mm for guided titanium sleeves and 1mm for guided drills. ImplatechOne guided system dimensions are produced within this framework.
SURGICAL PROTOCOL
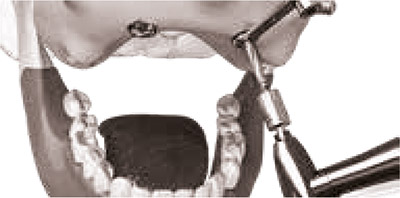
POSITIONING THE SURGICAL GUIDE
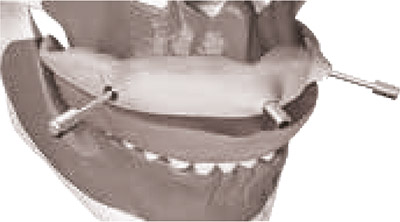
Positioning varies depending on the type of application the surgical guide will be used for. In total edentulous cases, the marking drill and fixation pins ensure that the guide is in the correct position during the surgery. In partially edentulous cases, the surgical guide is usually fixed with support from the patient’s tongue. All of the attachments shown below are included in the surgical set.
SOFT TISSUE MANAGEMENT
Surgery can be performed by raising a surgical flap, raising a mini-flap, or without raising a flap (flapless).
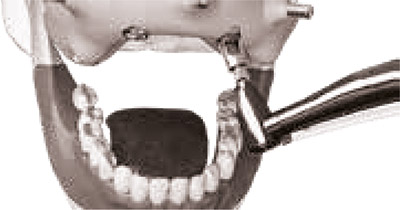
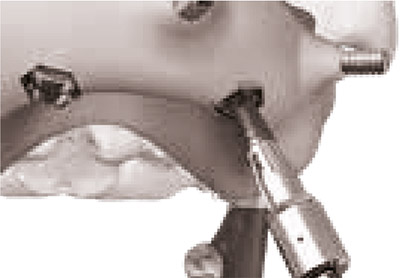
DRILLING
Make sure that the implant diameters planned for placement are compatible with the drills used. The precise nature of surgical drills allows a perfect fit with the titanium sleeves on the surgical guide. Stoppers on the drills ensure that the implant is positioned at the correct depth.
IMPLANT PLACEMENT
The hand driver that is used to carry and place the implant to the prepared site and the special fixation screws are produced with a precision that perfectly fits the surgical guide. Provides precise information about the correct direction and depth of the implant position.
PLACEMENT OF PROVISIONALS
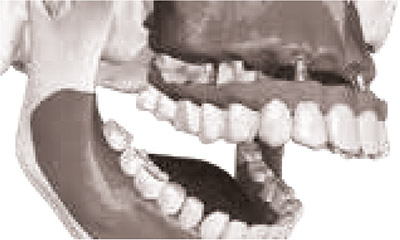
The 3D guided surgery technique allows the transfer of the digital implant planning to the anatomical model without error. Following the surgery, provisional prosthetics are placed in the mouth. This method allows for immediate loading. At the same time, this method provides an aesthetic and functional solution by ensuring the most suitable positioning of the restorative treatment, with the implants placed in accordance with the prosthetic planning, and the vertical and occlusal relationship and based on the suitability of the bone.